DIY Room Divider Ideas for Studio Apartments (No Drilling Needed)
DIY room divider ideas for studio apartments and renters: curtain, bookshelf, plant, folding-screen and slat projects you can build without drilling holes.

In this guide · 15 sections
The easiest DIY room divider ideas for a rental are the ones that stand on their own or press between surfaces: a curtain on a tension rod, an open-back bookshelf, a shelf of plants, or a hinged screen you build from old doors or frames. None of them need a single hole in the wall, and most cost less than a ready-made partition.
Below are nine projects, each with a rough cost, a skill level and what it actually blocks (light, sight or sound). If you'd rather buy than build, we've rounded up renter-friendly room dividers you can buy, from slatted tension walls to acoustic panels.
Before You Build a DIY Room Divider
A divider is only as good as the spot it stands in. Before picking a project, answer three questions:
- What are you hiding? Usually the bed from the front door, or a desk from the sofa. That decides how tall and how solid the divider needs to be.
- Where is the window? If there's only one, the divider must let light through, or the far side of the room turns into a cave.
- Where do you walk? Leave a clear path from the door to the kitchen, bathroom and bed.
Sketching your zones first helps; our guide to creating zones in a studio apartment walks through it.
Reader Poll
What do you need most from a room divider?
9 DIY Room Divider Ideas You Can Build Without Drilling
1A curtain on a heavy-duty tension rod
Cost: $ · Skill: beginner · Blocks: sight, some light
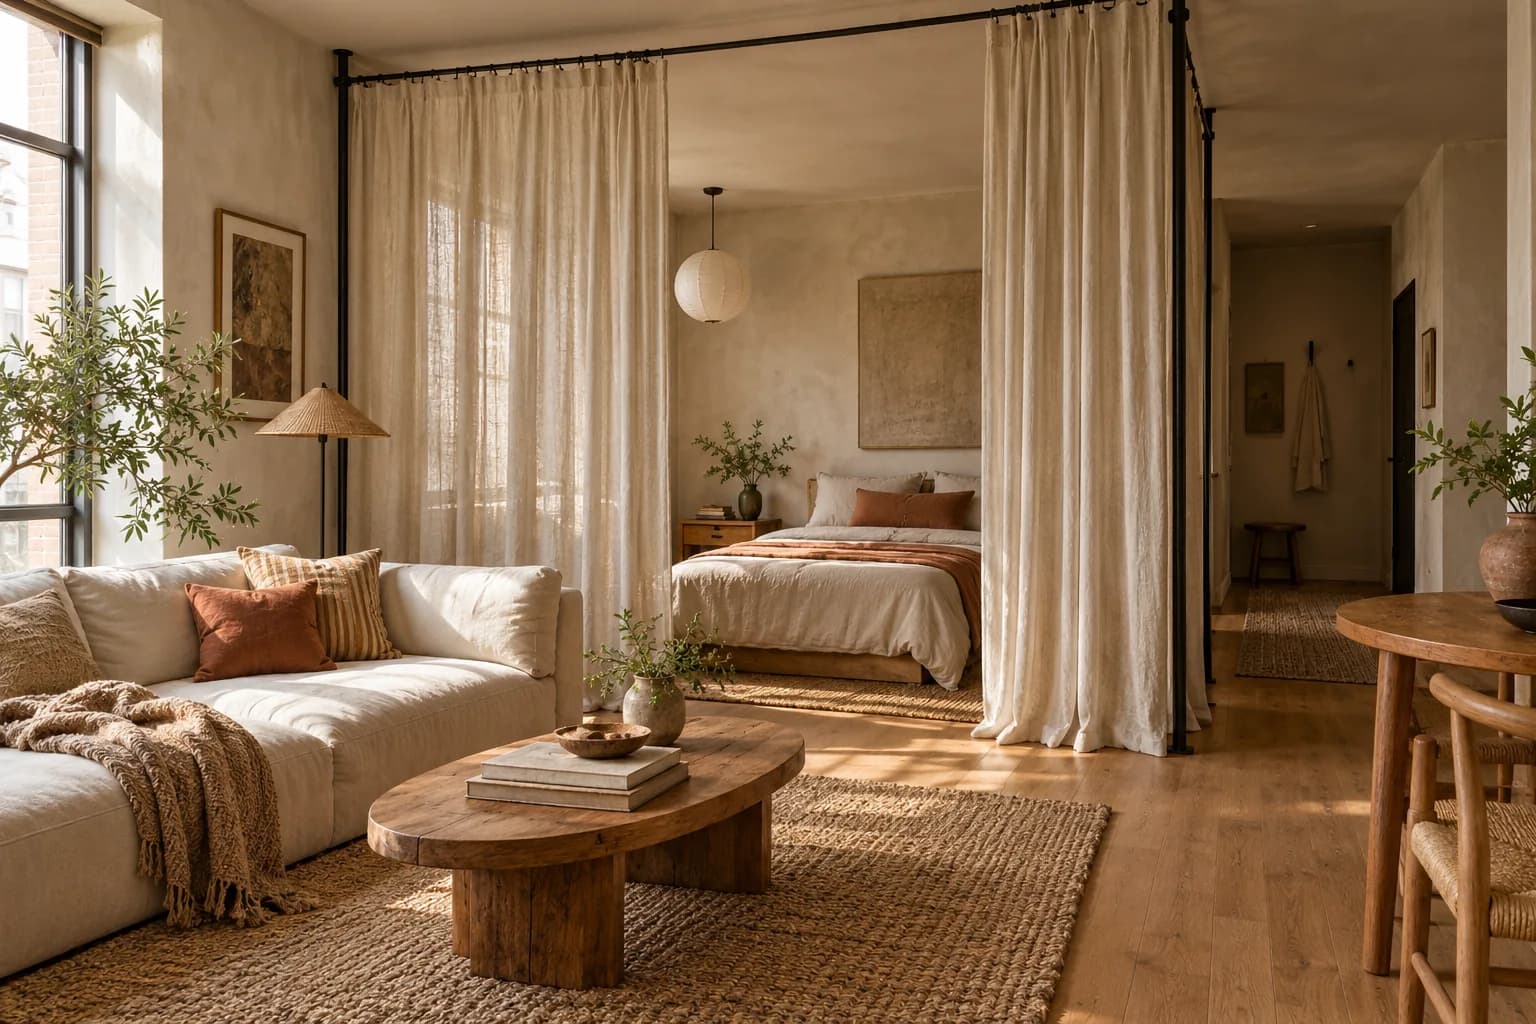
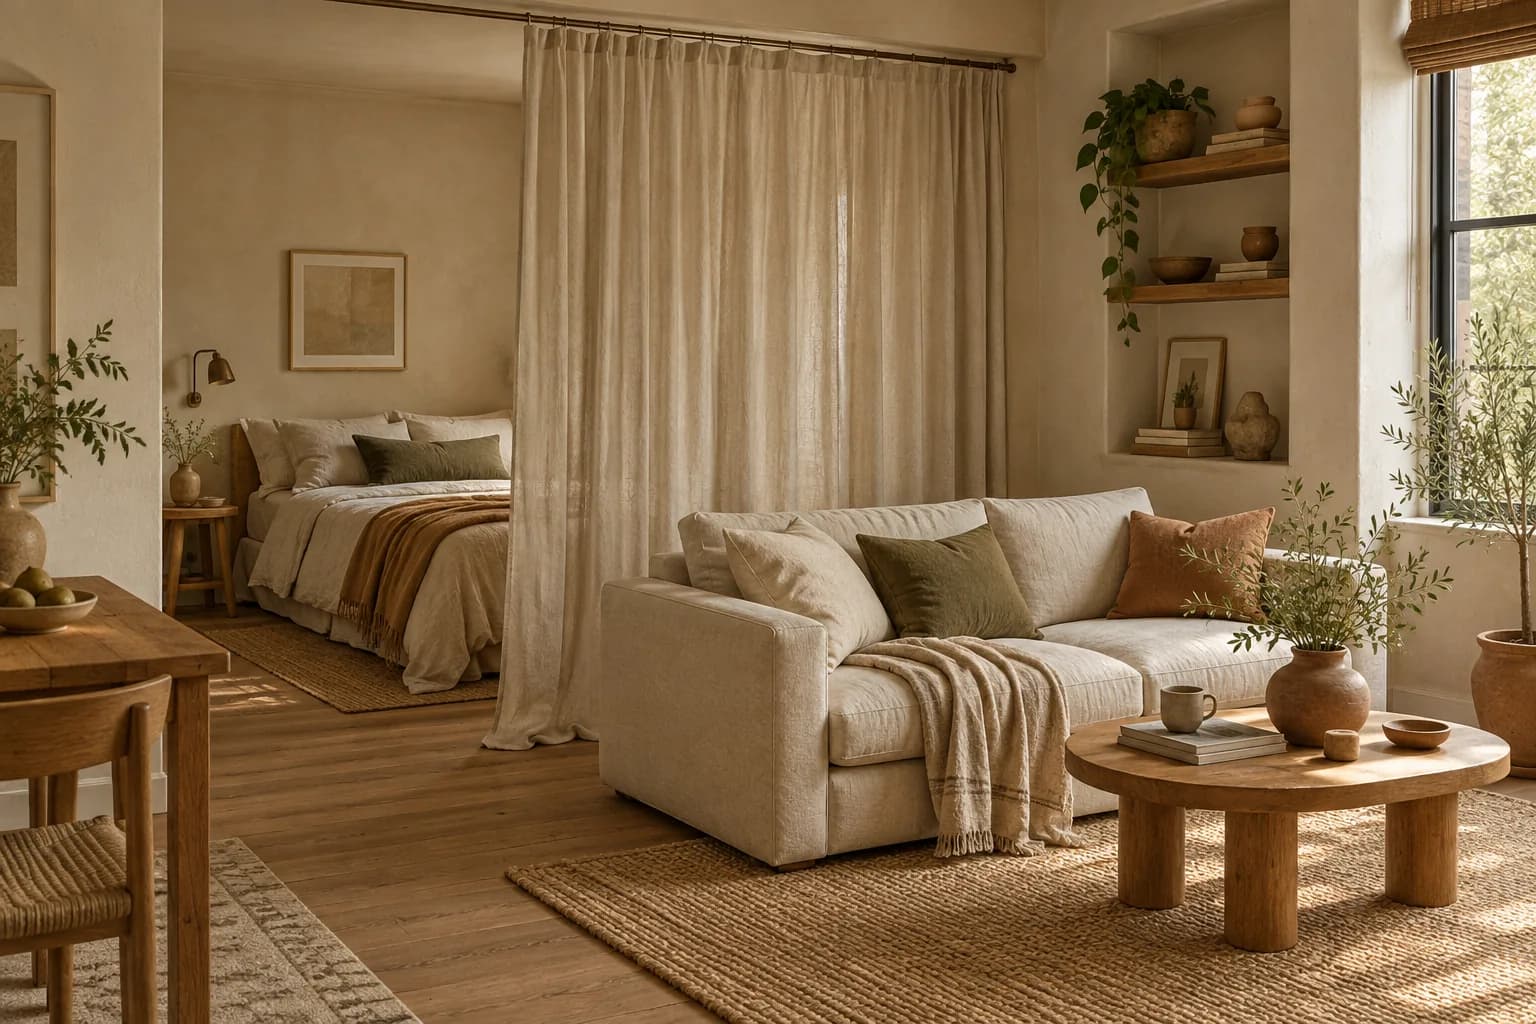
Fit a heavy-duty tension rod between two walls (an alcove or the space between a wall and a tall wardrobe works well) and hang floor-length curtains. Linen or cotton softens the room; blackout fabric hides the bed completely. For a custom length on a budget, try our DIY drop cloth curtains, which are cheap to make extra-wide.
Tension rods have a maximum span and a weight limit printed on the package. Stay well inside both, and choose lightweight fabric for long spans.
2A freestanding curtain frame
Cost: $$ · Skill: beginner to intermediate · Blocks: sight, some light
No two walls to span? Build a simple frame instead: two upright poles on weighted bases (or clothing-rack uprights) joined by a crossbar, with curtains hung from rings. It can stand anywhere in the room, including in the middle of an open studio.
3An open-back bookshelf divider
Cost: $$ · Skill: beginner · Blocks: partial sight, very little light
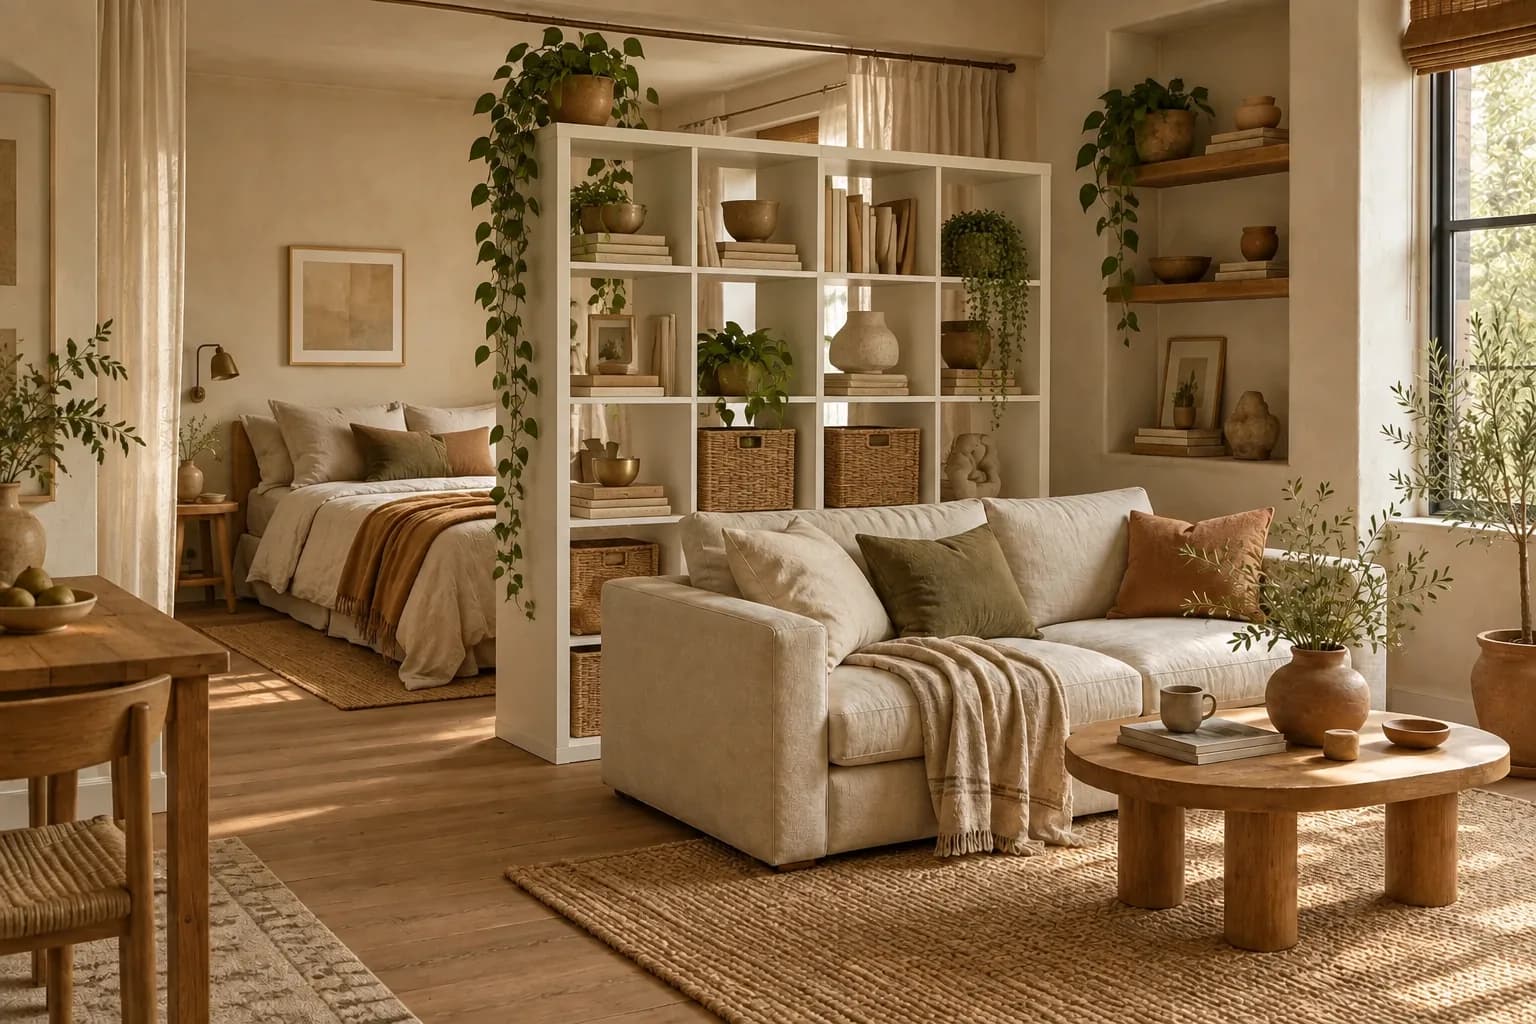
Open-back cube shelving is the classic studio divider. IKEA says its KALLAX unit can stand against a wall or out in the room as a divider, and the open cubes let light pass through. Style the side facing the living area, keep heavy books on the lowest row, and add a few fabric bins for things you don't want on show.
A bookshelf also counts as storage, so it pulls double duty in a small space.
4A wall of plants
Cost: $–$$ · Skill: beginner · Blocks: partial sight, light passes through
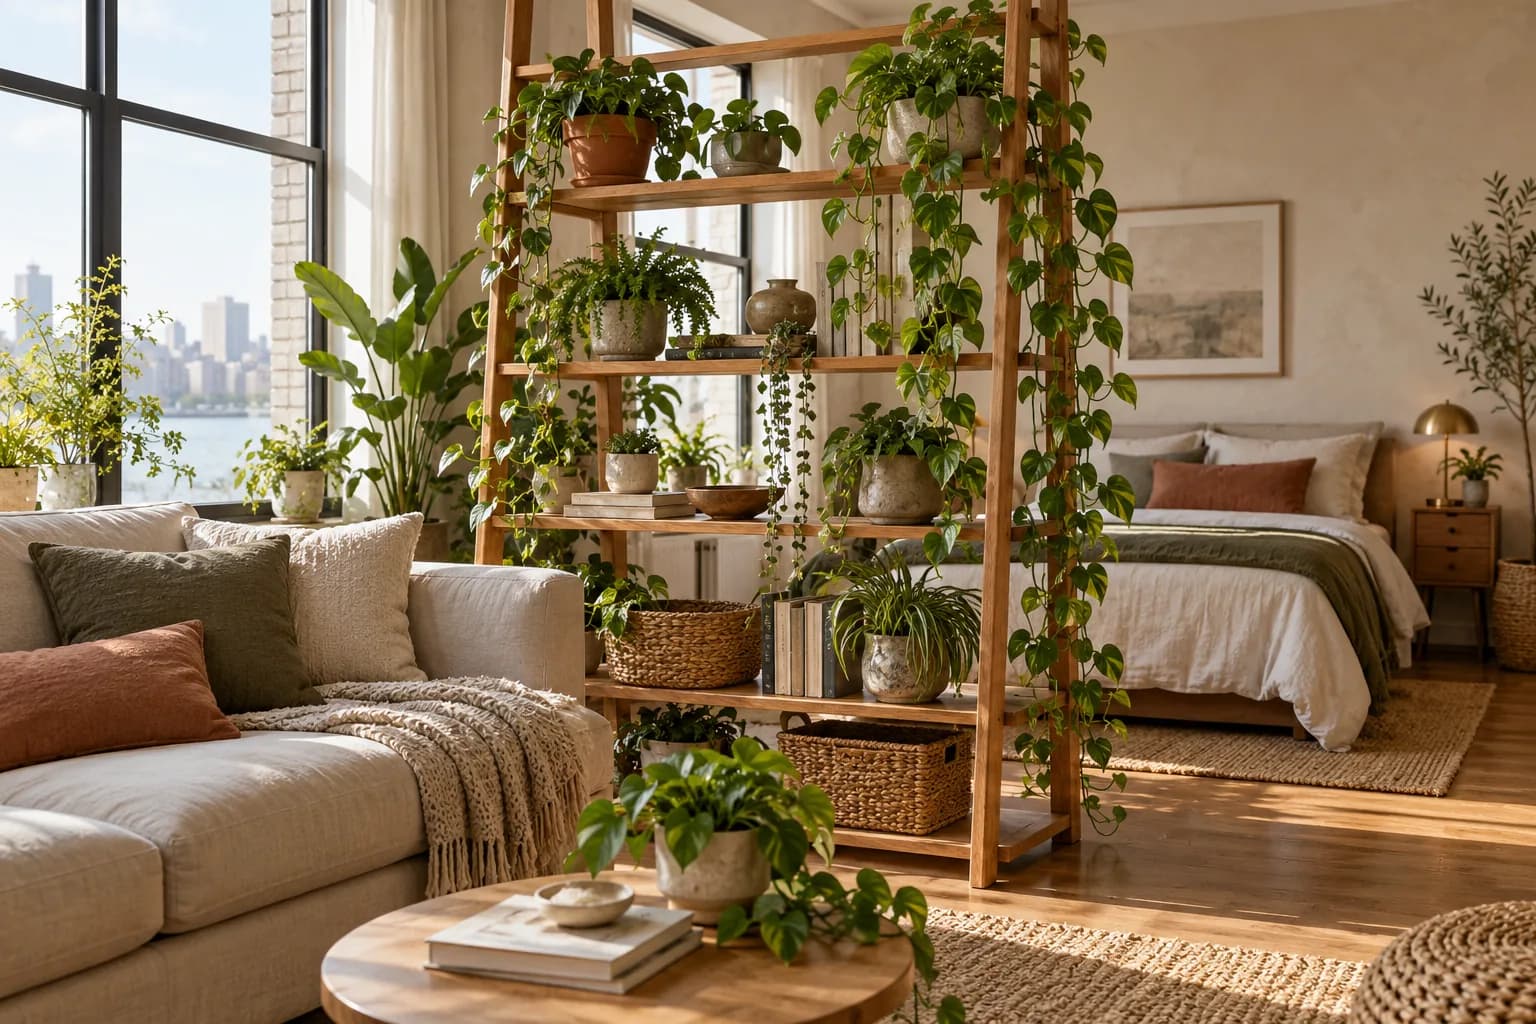
A tall ladder shelf or a plant stand filled with trailing pothos, a few taller plants and one floor plant makes a soft, living screen. It works best near the window side of a studio, where the plants get light and the divider doesn't steal it.
5A folding screen from old doors or frames
Cost: $–$$ · Skill: intermediate · Blocks: sight
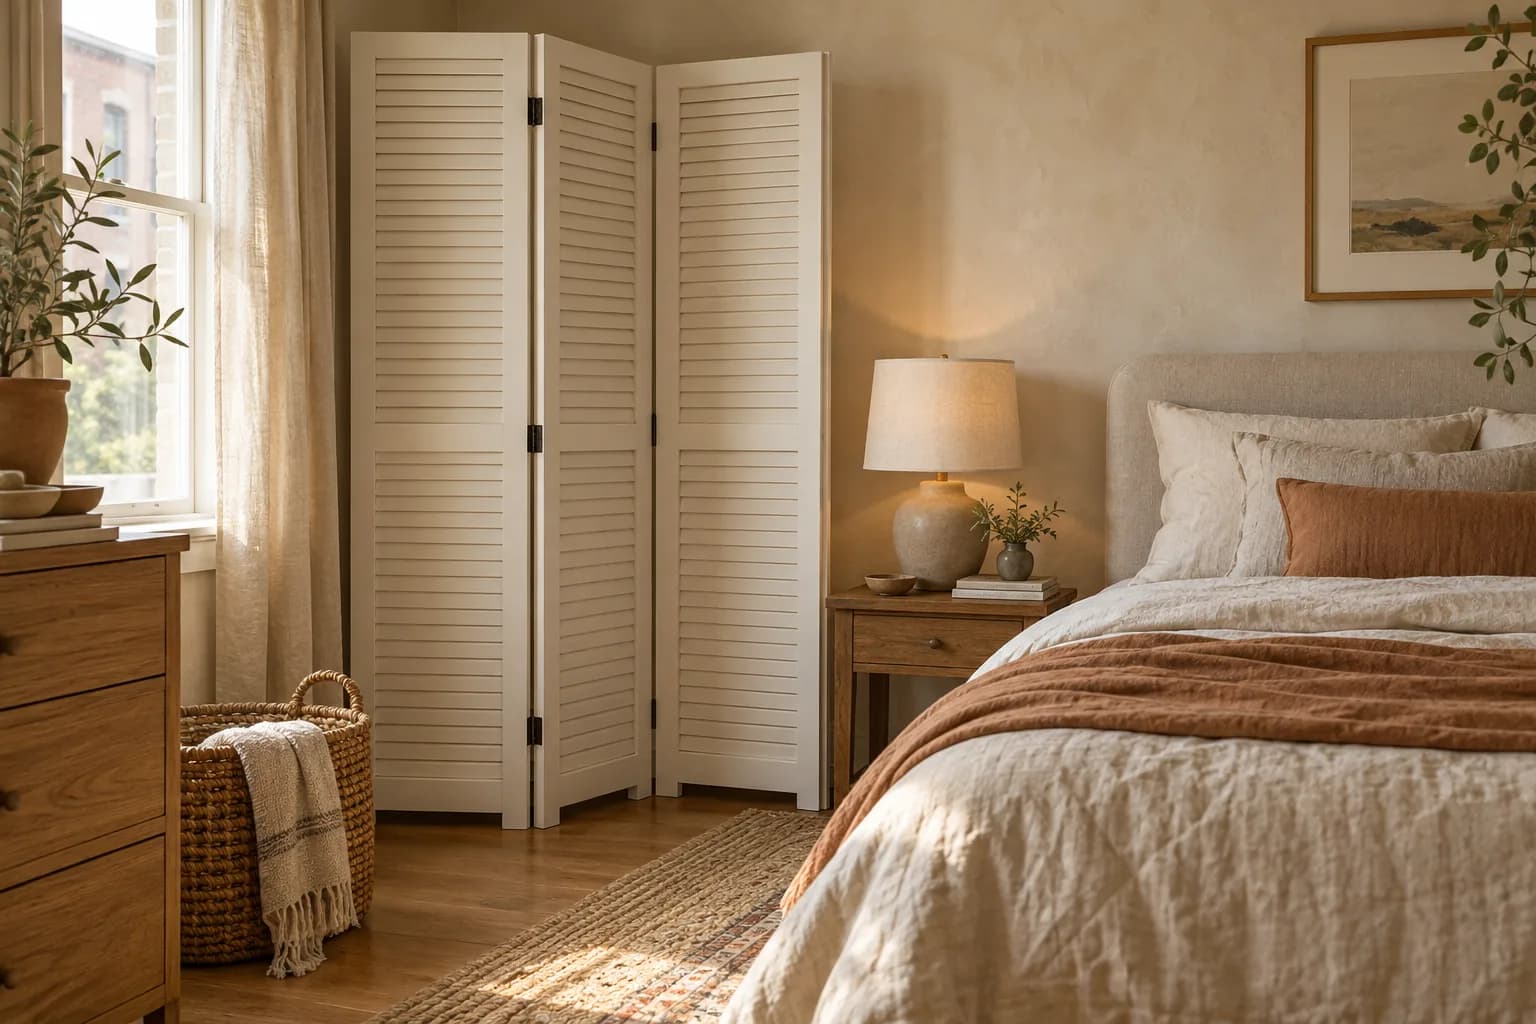
Three matching louvered closet doors or large picture frames, joined with two hinges per seam, make a folding screen that stands on its own when set in a zigzag. Look for doors at thrift stores and building-material reuse centers; our thrift store furniture flips under $50 cover how to prep and paint secondhand pieces. Stretch fabric or cane webbing across empty frames for a lighter look.
6A slat divider on tension poles
Cost: $$ · Skill: intermediate · Blocks: partial sight, light passes through
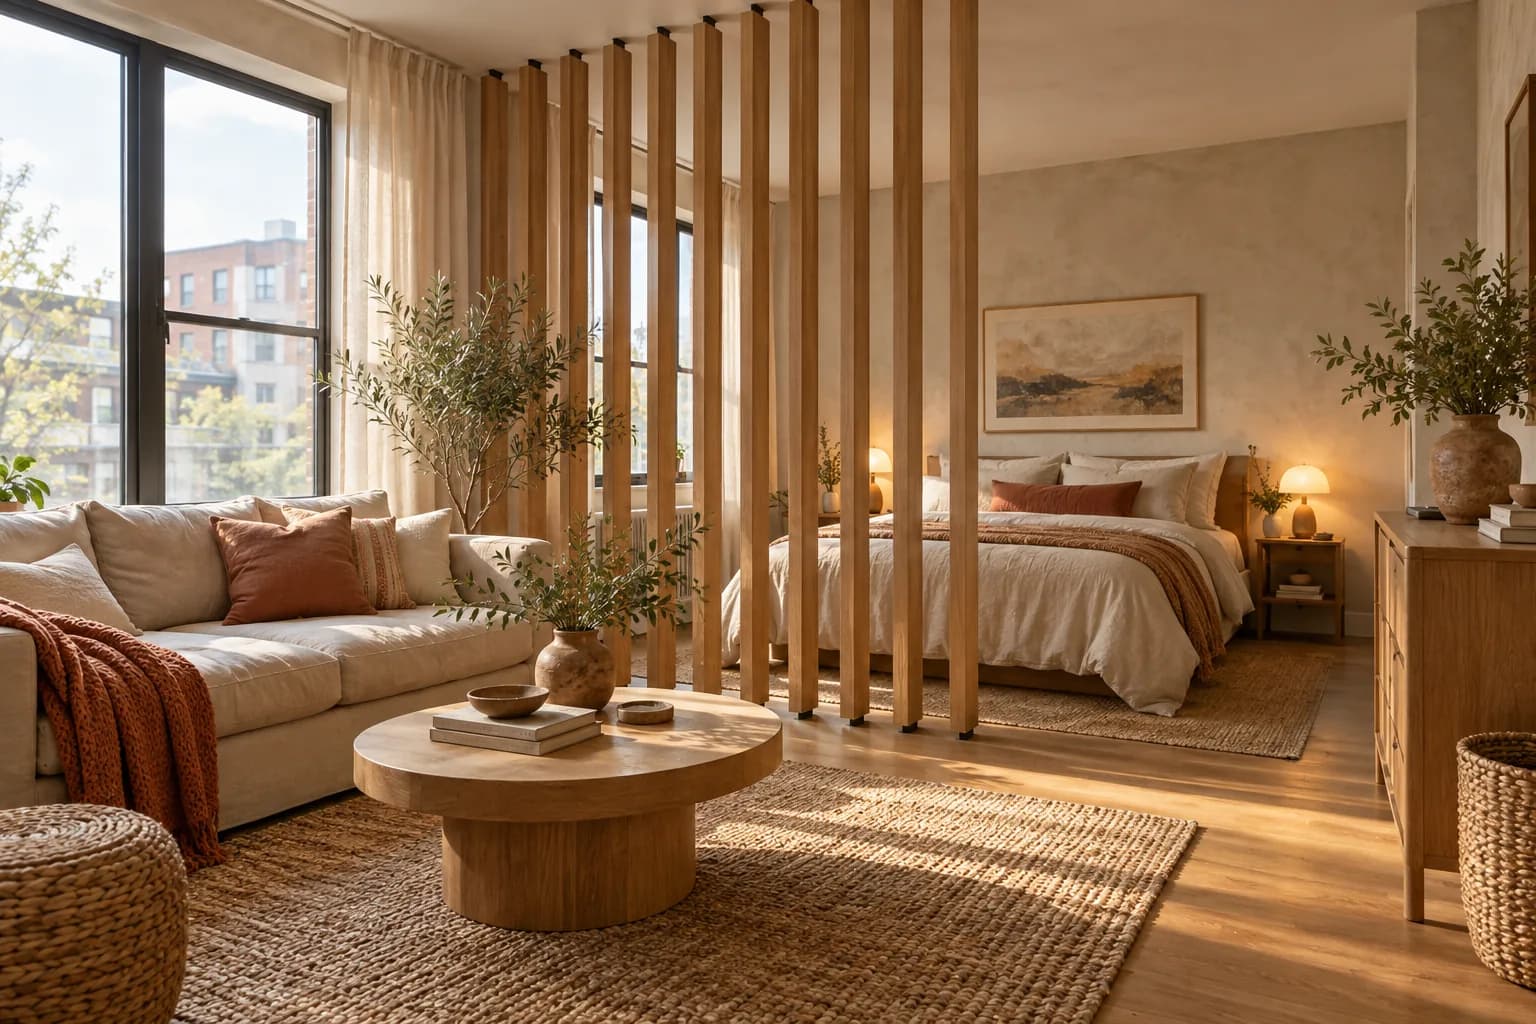
Floor-to-ceiling tension poles (the kind sold for shelving or photo backdrops) give you two uprights with no holes. Attach horizontal or vertical wood slats between them with clamps or screws into the slats only, never the ceiling. The gaps keep the room bright while making a clear boundary.
Tension poles need a solid, flat ceiling. Skip this one with popcorn, drop or sloped ceilings.
7A rope or macramé curtain
Cost: $ · Skill: beginner · Blocks: a little sight, almost no light
Cotton rope or macramé cord hung in close strands from a tension rod marks a zone without closing it off. It's ideal when you only want to signal "this is the bedroom" rather than hide it.
8A pegboard panel on a freestanding frame
Cost: $$ · Skill: intermediate · Blocks: sight
Fix a pegboard sheet to a simple frame with feet (two short lengths of lumber screwed on as a T-base). The workspace side holds hooks, a small shelf and supplies; the other side can be painted to match the wall. It's a useful divider between a desk and a bed.
9The no-build divider: furniture and a rug
Cost: free · Skill: none · Blocks: nothing physically, but the room reads as two spaces
Turn the back of the sofa toward the bed, add a rug under the living area, and put a console table or low bookcase behind the sofa. The room reads as two separate areas without any divider at all. Our guide to floating your furniture in a small apartment explains the layout rules.
Which DIY Divider Is Right for You?
| Divider | Privacy | Light | Storage | Best for |
|---|---|---|---|---|
| Tension-rod curtain | High | Low to medium | None | Hiding the bed in an alcove |
| Freestanding curtain frame | High | Low to medium | None | Open studios with no alcove |
| Open-back bookshelf | Medium | High | High | Studios short on storage |
| Plant wall | Low to medium | High | Some | Window side of the room |
| Folding screen | High | Low | None | Flexible, movable privacy |
| Slat divider | Medium | High | None | A built-in look without building |
| Rope curtain | Low | High | None | Marking zones, not hiding them |
| Pegboard panel | High | Low | Medium | Desk and bed in one room |
| Sofa and rug layout | Low | High | None | Zero budget |
How to Keep a DIY Room Divider Safe
- Tension rods and poles: check the maximum span and load on the packaging, and re-tighten them every few weeks.
- Heat: keep fabric dividers well away from radiators, space heaters and candles.
- Exits: never block a door, window or smoke detector.
Cost Guide
Price bands: $ under $50, $$ $50–150. If you'd rather skip the build, compare the ready-made options in our renter-friendly room dividers roundup.
FAQ
What is the cheapest way to divide a room?
A curtain on a tension rod, or rearranging furniture you already own (sofa back toward the bed, a rug to mark the living area). Both cost little or nothing.
How can I divide a room without drilling?
Use tension rods or floor-to-ceiling tension poles, freestanding shelving, a folding screen, or furniture placement. All of them stand on their own or press between surfaces instead of screwing into walls.
Can a bookshelf be a room divider?
Yes. Open-back cube shelving works well because light passes through. Keep heavy items on the lowest shelves and choose a wide, stable unit, since it won't have a wall behind it.
How do you make a room divider for a studio apartment?
Decide what you want to hide (usually the bed), check where the window is, and leave a clear walkway. Then choose a curtain for privacy, or shelves, plants or slats if the divider needs to let light through.
How do you hang a curtain room divider without drilling?
Fit a heavy-duty tension rod between two walls, or build a freestanding frame from two weighted uprights and a crossbar, and hang lightweight curtains on rings.