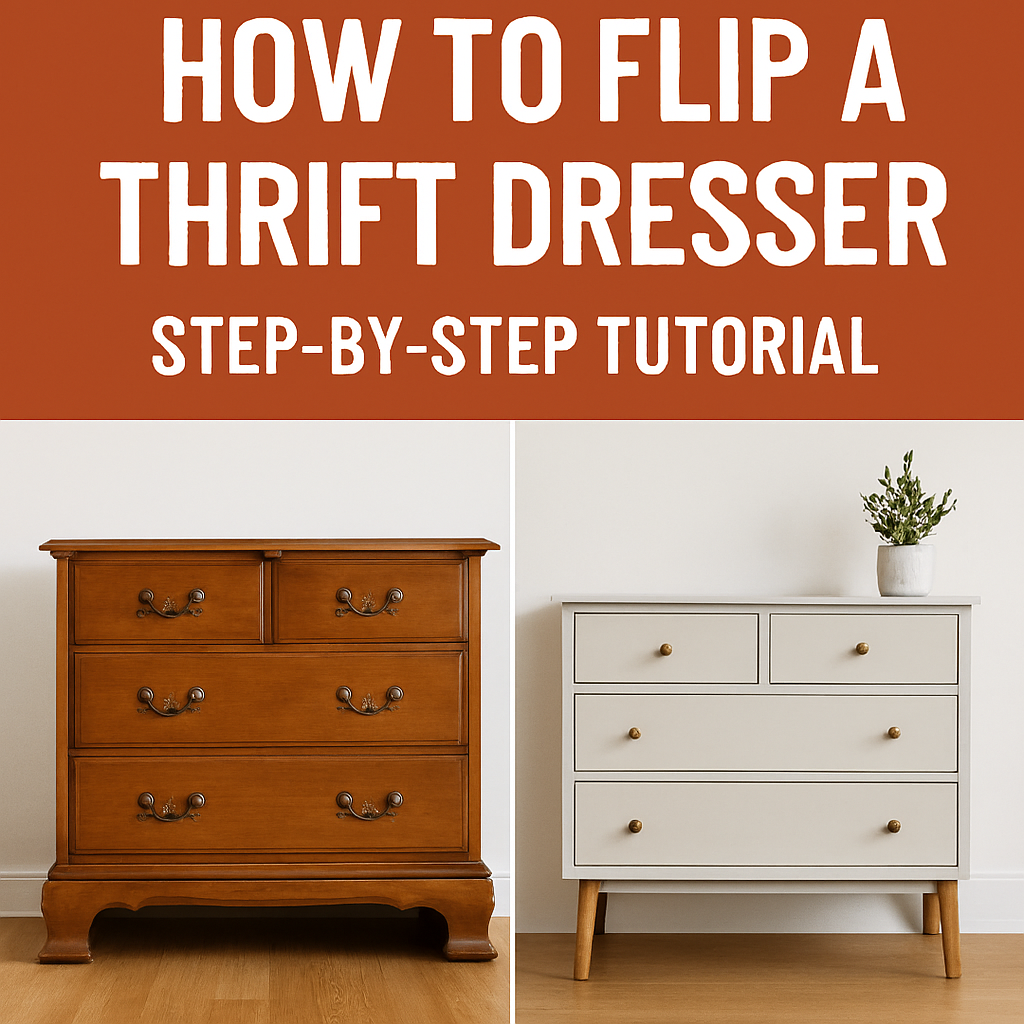
A successful thrift dresser flip starts with choosing the right piece and ends with a stylish, sellable transformation. This guide walks you through sourcing, prep, paint, hardware, finishing, photography, and pricing so you can turn a $25 thrift find into a $300+ resale.
Quick overview
- Goal: Buy low, add value with low‑cost upgrades, sell for a profit.
- Typical profit range: Many flippers turn $10–$50 thrift buys into $200–$550 resales depending on upgrades and market. YouTube craft-your-home.com
Table of Contents
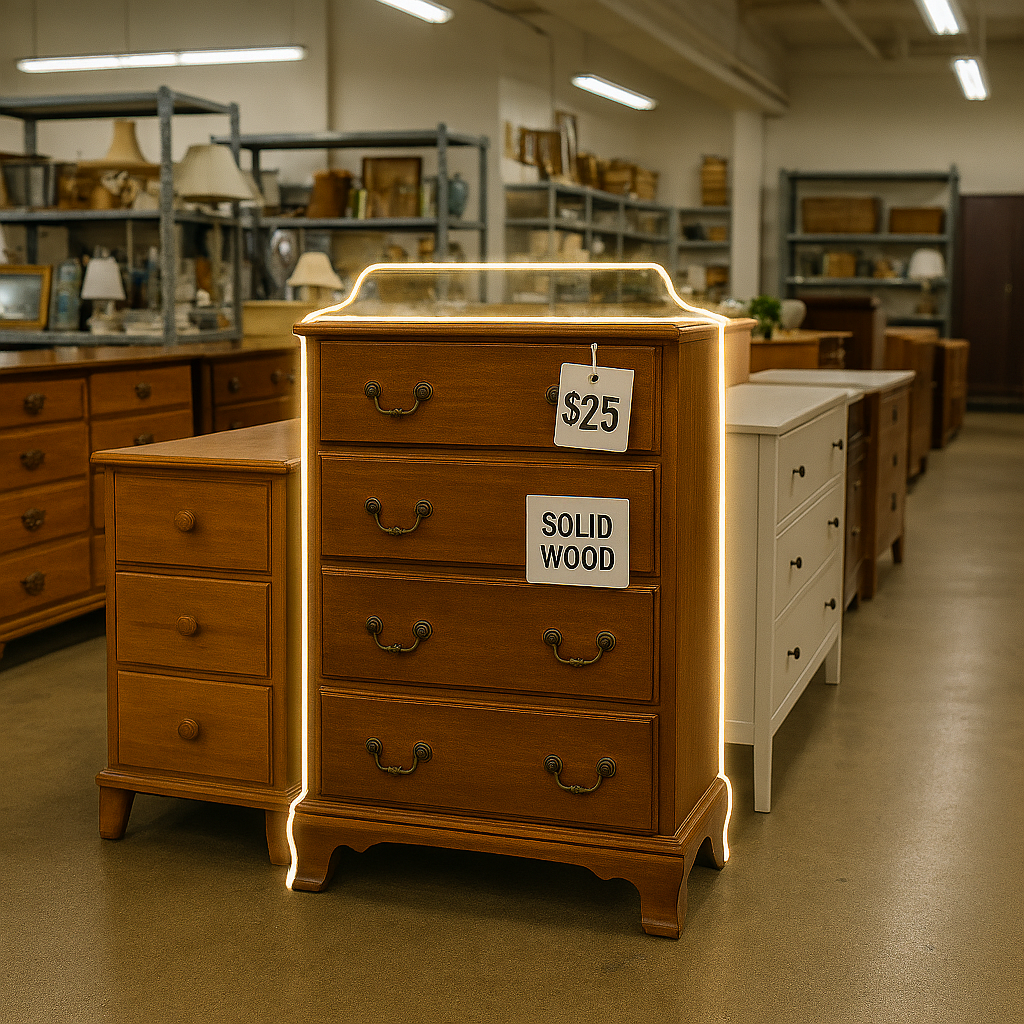
1.Thrift Dresser Flip: Sourcing the Right Piece
What to look for:
- Solid structure: heavy, sturdy, drawers slide smoothly.
- Good bones: intact top, minimal veneer damage.
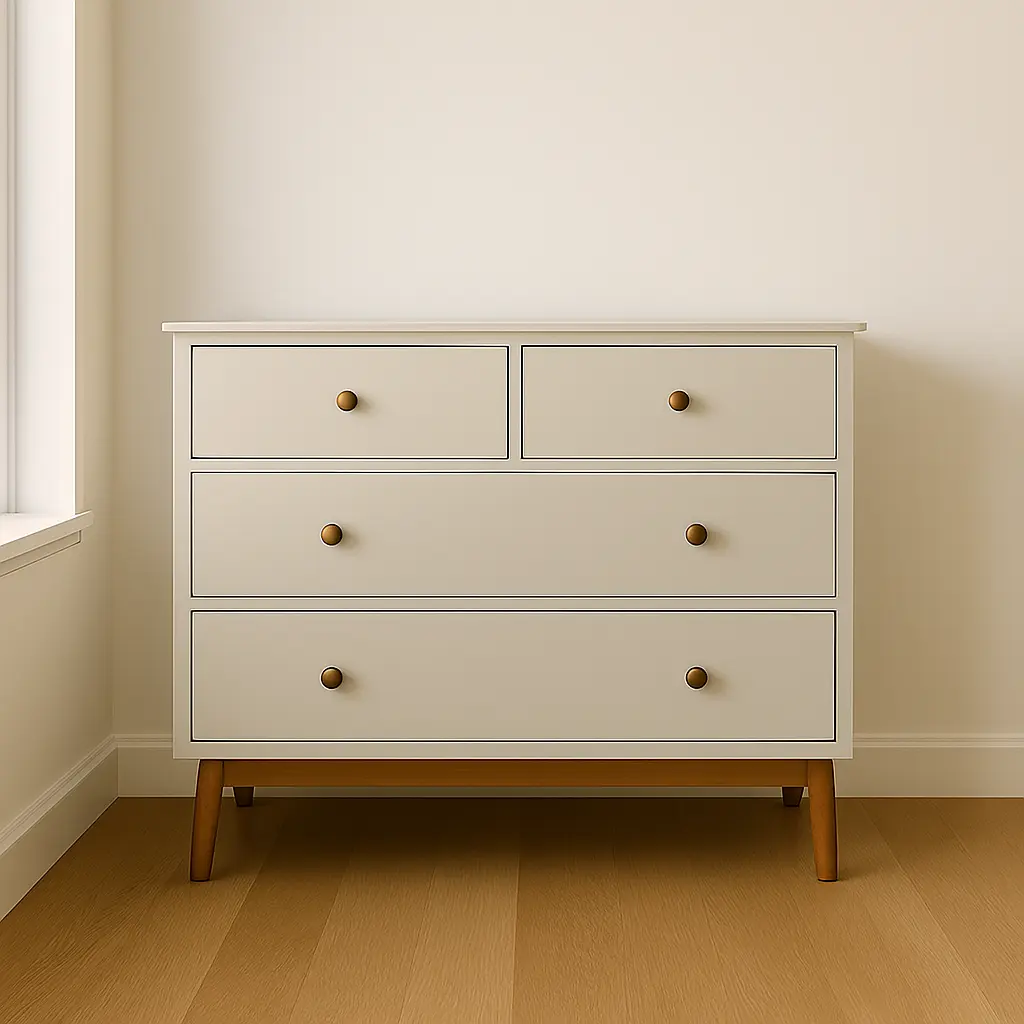
- Style potential: mid-century, farmhouse, or clean lines.
- Hardware condition: original brass pulls can be cleaned or replaced.
Where to search: thrift stores, estate sales, curb alerts, Facebook Marketplace, and local buy‑sell groups. Quick validation: if similar flips sell for $200+, it’s worth the effort.
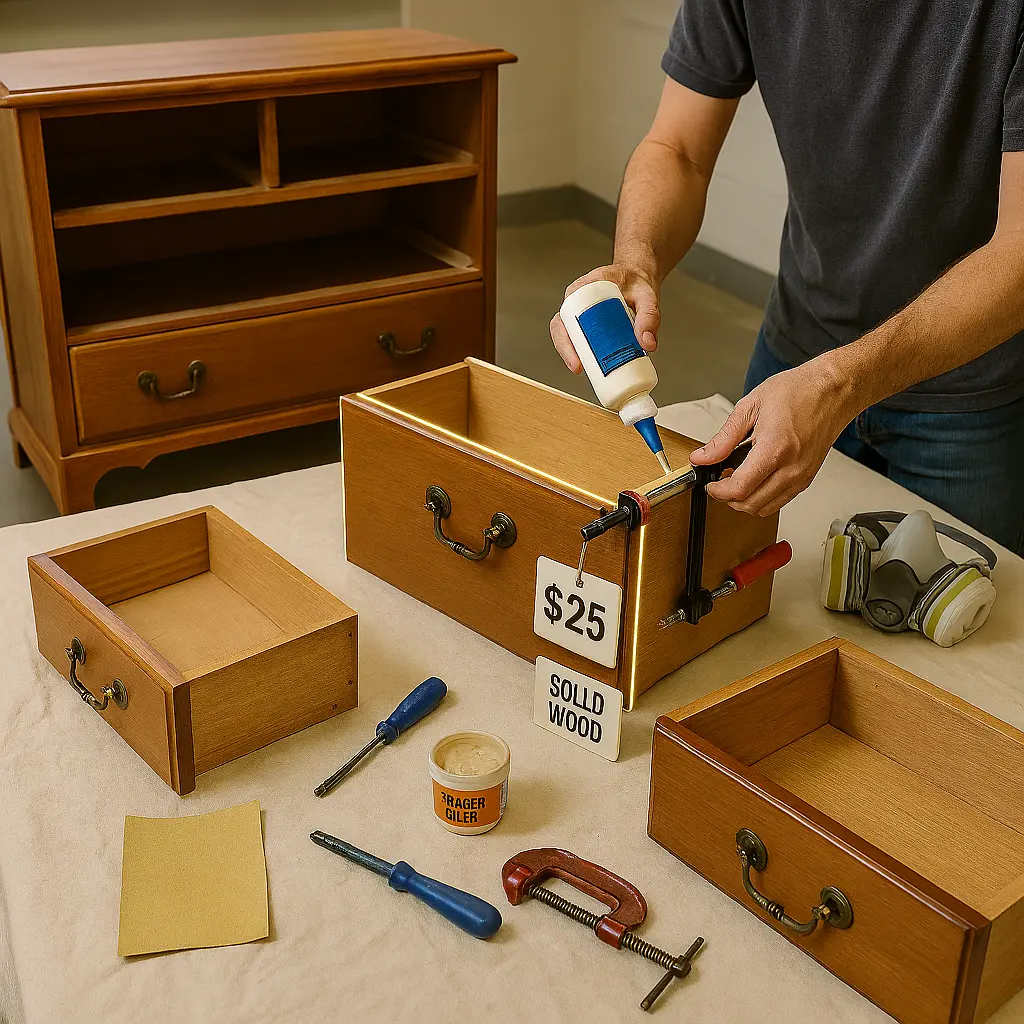
2. Prep and Repair for a Thrift Dresser Flip
Tools & supplies
- Screwdrivers, pliers, hammer, wood glue, clamps, wood filler, sandpaper (80, 120, 220), orbital sander (optional), tack cloth, drop cloths, respirator or mask, gloves.
Step sequence
- Remove hardware and drawers. Label drawers and take photos so you can reassemble correctly.
- Clean thoroughly. Use TSP substitute or degreaser to remove grime and old wax.
- Inspect & repair:
- Tighten loose joints with wood glue and clamps.
- Fill chips/holes with wood filler; sand smooth after drying.
- Strip or scuff:
- If the finish is peeling or thick varnish, either strip with a chemical stripper or sand to bare wood.
- For painted or sealed surfaces you plan to repaint, scuff sanding with 120–150 grit is usually enough.
- Final sanding & dust removal: finish with 220 grit, wipe with tack cloth.
Tip: Spend more time on structural repairs than decorative details; buyers notice solid function first.
3. Paint, stain, and finish — choices and technique
Decision factors: desired style, time, durability, and buyer expectations.
Paint type comparison
| Option | Durability | Finish look | Prep required | Typical cost |
|---|---|---|---|---|
| Chalk paint | Medium | Matte, vintage | Minimal; may need wax | Low |
| Acrylic latex (furniture paint) | High | Smooth satin/eggshell | Scuff sand + primer | Medium |
| Milk paint | Medium | Distressed, antique | Bonding agent for non‑porous | Low |
| Oil‑based stain + poly | High | Natural wood grain | Strip to bare wood | Medium |
Technique (painted finish)
- Prime with a bonding primer if surface is slick or previously stained.
- Apply thin coats of paint; 2–3 coats for full coverage.
- Sand lightly between coats with 220 grit for a smooth finish.
- Topcoat: use a water‑based poly or furniture wax depending on paint type for durability.
Technique (stained wood)
- Strip to bare wood if necessary.
- Conditioner for softwoods, then apply stain in even strokes.
- Seal with satin poly (2–3 coats), sanding lightly between coats.
Durability note: For dressers that will be used daily, a clear topcoat (polyurethane or conversion varnish) increases longevity.

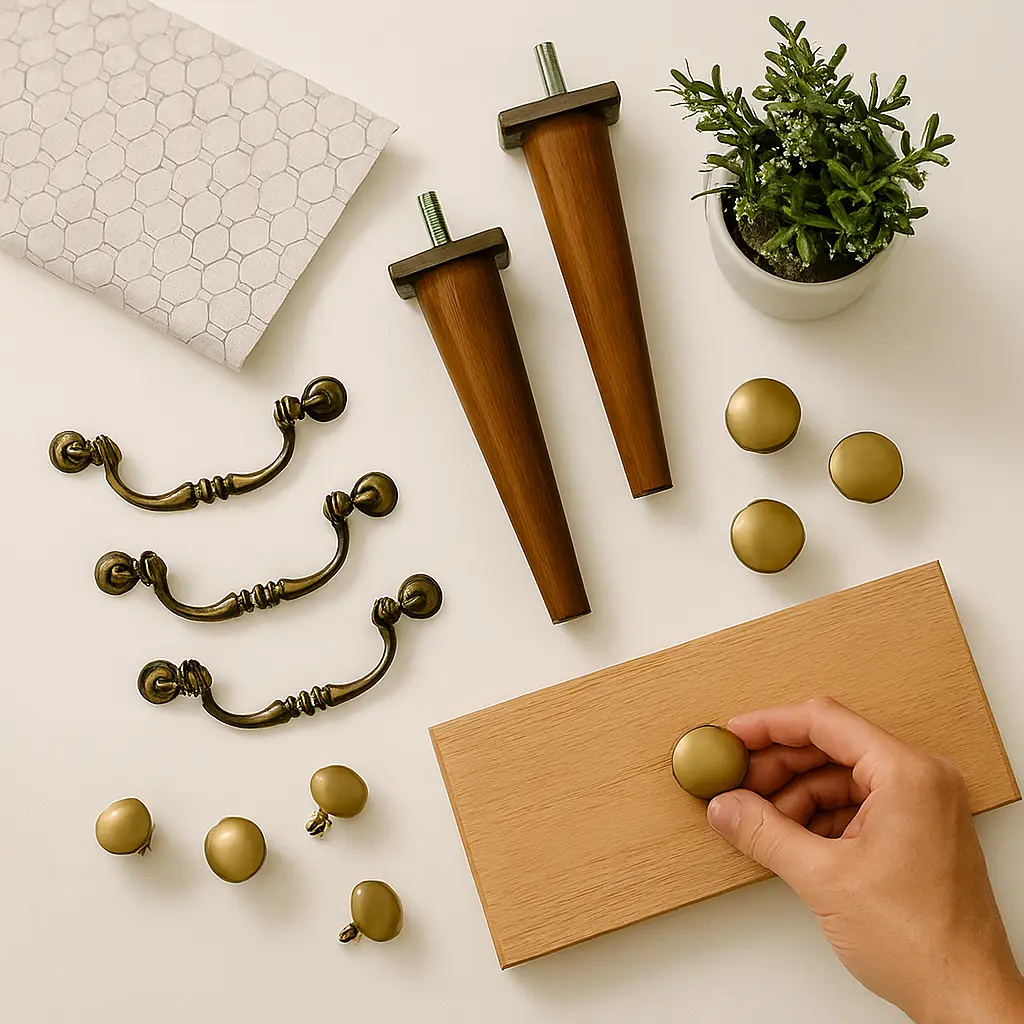
4. Hardware, legs, and value‑adding upgrades
Hardware options
- Refinish original hardware: soak in vinegar or use metal polish for brass; electroclean for heavy tarnish.
- Replace with new: modern pulls, cup pulls, or knobs can instantly update style.
- Add legs or plinth: swapping a skirt for tapered legs modernizes mid‑century pieces.
Value‑adding upgrades
- Drawer liners (fabric or wallpaper) for a premium feel.
- New drawer bottoms or runners if damaged.
- Accent details: inlay, beadboard on drawer fronts, or simple trim to create shaker fronts.
Cost vs. impact: Replacing hardware and adding legs are relatively low cost but high perceived value.
5. Thrift Dresser Flip Cost Breakdown and Timeline
Example budget (mid‑range flip)
- Purchase price: $25
- Materials: primer, paint, sandpaper, wood filler, topcoat — $40
- Hardware & legs: new pulls + legs — $35
- Misc (cleaners, brushes, liners): $20
- Total cost: $120
Pricing & profit
- Resale price target: $300–$450 depending on local market and finish.
- Estimated profit: $180–$330 (before fees/delivery). Real examples show flips reaching $500+ for high‑end makeovers. YouTube craft-your-home.com
Timeline
- Day 1: Sourcing & transport.
- Days 2–4: Deep clean, repairs, and sanding.
- Days 5–7: Prime and paint/stain (allow drying between coats).
- Day 8: Hardware, liners, final touchups, photos, and listing.
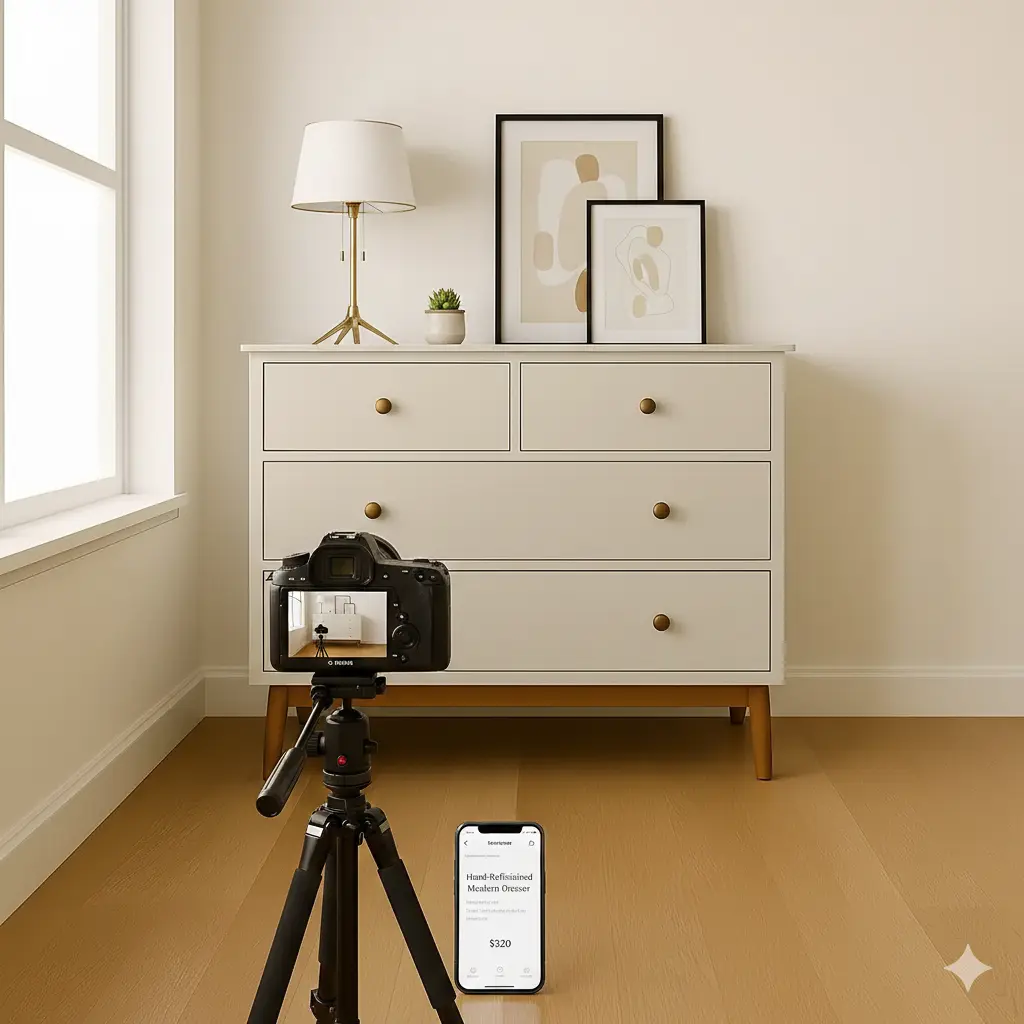
6. Photography and Listing Tips
Photo checklist
- Clean, well‑lit shots: use natural light near a window; avoid harsh shadows.
- Angles: front, three‑quarter, close‑ups of hardware, interior drawers, underside/legs, and any flaws.
- Context: show scale with a common object (lamp) or in a styled room.
- Before & after: include at least one clear before photo and multiple after photos.
- Image quality: use a tripod or steady surface; crop to remove clutter.
Listing copy
- Headline: include style + key upgrade (e.g., “Mid‑Century Dresser — Refinished, New Brass Pulls”).
- Bullets: dimensions, materials, condition, upgrades, and delivery/pickup options.
- Price strategy: start slightly higher to allow negotiation; offer local delivery for extra fee.
7. Common mistakes and how to avoid them
- Over‑restoring: stripping every trace of character can reduce appeal for vintage buyers.
- Skipping structural fixes: cosmetic paint can’t hide a wobbly frame.
- Using the wrong paint: low‑quality paint chips and reduces resale value.
- Poor photos: bad lighting or cluttered backgrounds lower buyer trust.
Quick materials & tools shopping list
- Essentials: sandpaper (80/120/220), wood filler, primer, paint, topcoat, brushes/rollers, screwdrivers, clamps, TSP cleaner.
- Optional upgrades: new hardware, legs, drawer liners, orbital sander.
Final checklist before listing
- Function test drawers and hardware.
- Wipe down and remove dust.
- Take high‑quality photos.
- Write clear listing with dimensions and delivery options.
- Price to allow negotiation and cover fees.